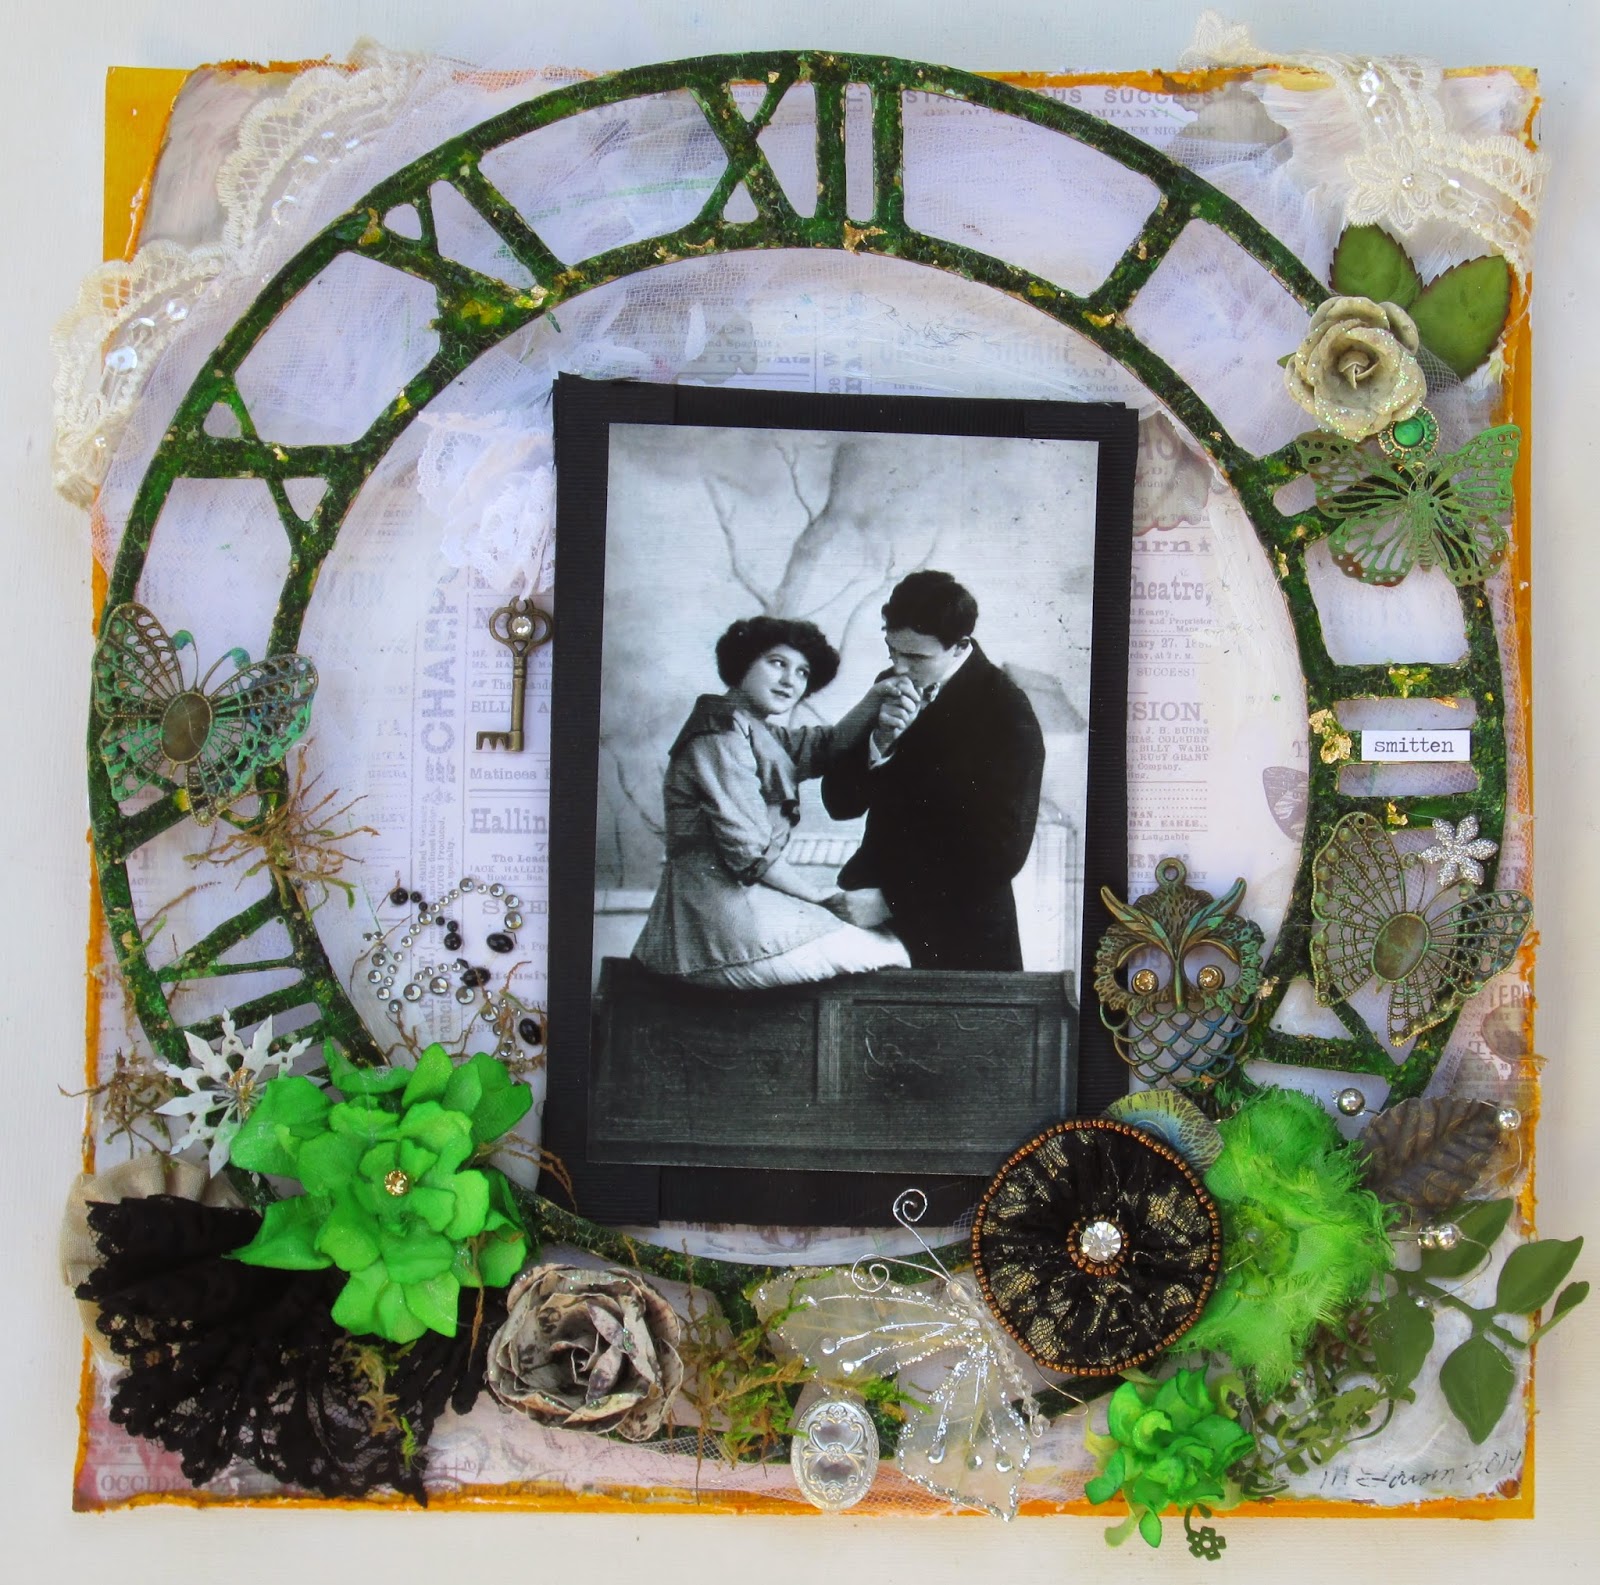
Hi everyone! Melissa here with a 12 x 12 layout to share, which is also part of our October cross promotional for Gina's Chipboard Laser Designs, and Craftsupplies1.
I love the skeleton clock frame, and I tried to do it justice with my treatment. Here are the steps:
1. Apply gesso
2 .Paint on 3 layers of fresh cut grass Dylusions Ink . I diluted it, 3 parts ink to 1 part water.
3. Black Sharpie to all edges to give more definition.
4. Rub on silver mica powder over whole frame.
5. Apply gold rub n buff to all the edges,allowing a lot of the black Sharpie to show.
6. Dab on Bronze Distress Stickles in different places, let dry.
7. Paint on undiluted Pure Sunshine Dylusions ink over whole frame.
8. Let the ink dry and rub on gold mica powder.
9. Dry brush gold leafing ink onto the Stickles. There will be little flecks of the texture of the Stickles that you can dry brush paint on. Brush gently so as just to touch the flecks with paint.
10. Put on little pieces of gold leaf all around the frame.
11.Using a paint brush, apply a thick layer of Crackle Accents.
Even though this isn't a winter page I couldn't resist using the snowflake shape set.
I used some beautiful lace and metal from Craftsupplies 1.
I lightly brushed on some Vintaj Metal Patina on the owl and butterflies.
I gave the owl Swarovski pointed back crystals for eyes.
I accordion folded the black lace, and secured it with a straight pin.
Thanks for looking!
Chipboard:
Other:
Pink Paislee paper
Prima Flowers
Prima Butterfly
Sizzix Tattered Flower made with Big Shot, I used white handmade paper from Hobby Lobby.
Ranger Dylusions Ink in Cut Grass, and Pure Sunshine.
Rub n Buff
Black Sharpie
Gold leaf
Gold leafing ink
Silver Jaquard Pearlex
Antique Bronze Distress Stickles
Distress Crackle Paint-Clear Rock Candy
Vintaj Metal
Vintaj Metal Patina Paint
Viva Modeling Cream in pearl
Tresors de Luxe lace


No comments:
Post a Comment