Powered By Blogger
Showing posts with label watercolor paper. Show all posts

Tuesday, July 10, 2018

Travel Far and Wide


Hi everyone! Melissa here with a page for Shimmerz Paints! What a pleasure to work with these rich, delicious paints, to express my love of the colors in this photo. 


This second version of the same photo, I took it with my new cell phone. I had no idea it took such good pics, in my humble opinion.


To make this page I used watercolor paper for both the mat, and the background.


I used Beautiful  Board chipboard by Reneabouquets.


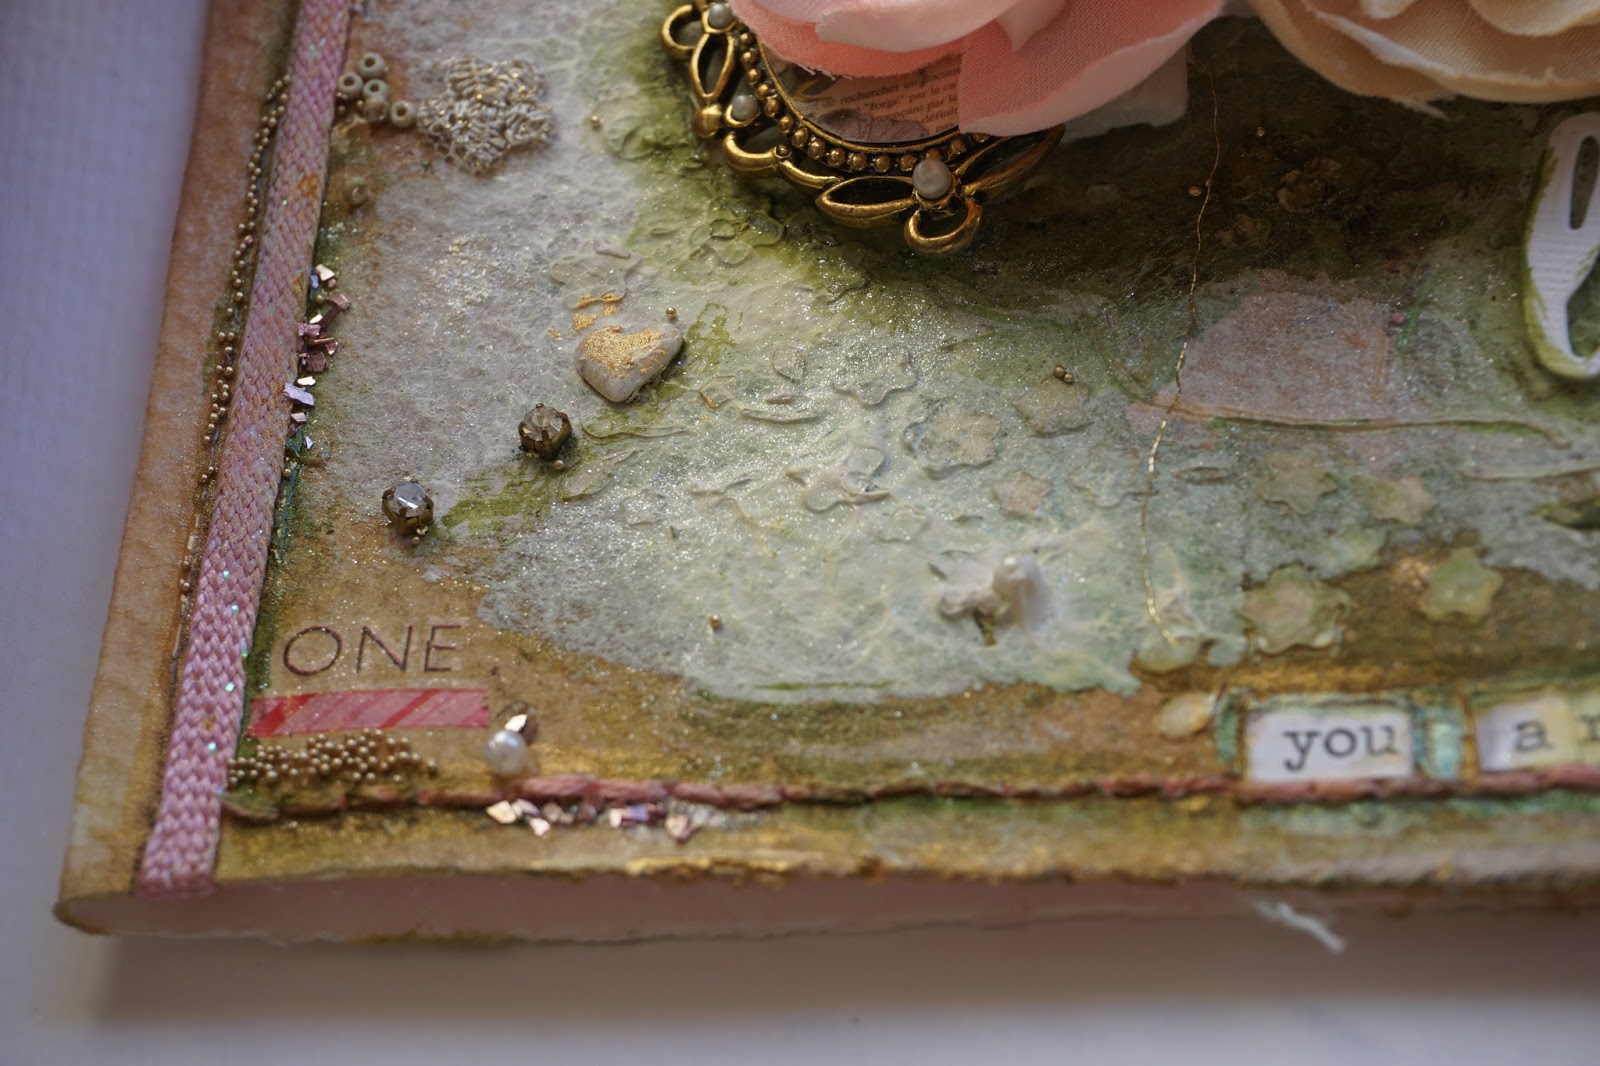
I stenciled on texture paste with a credit card. I arranged chipboard around the photo, prepped it with gesso, and applied paint. I put on a thick layer of Clear Rock Candy Crackle, and topped it with more paint,gesso, and gold mica powder.


I put a thin layer of paint over a lot of the page, but then wound up painting over a lot of it with gesso,things just got too busy.


To add visual interest I added the following: several little poppy flower stamps from Shimmerz stamps, tulle, cheesecloth,lichen, dried flowers,birch bark, embroidery floss, pearls, mica flakes, metal glitter,glass glitter, rhinestones, charms, rub ons, metal, seed beads, micro beads,dry embossing powder,sequins, and more. As I added things, I brushed on Shimmerz around to tie them in with page.


To the right of the metal I added clear glass glitter to wet paint. The glitter kind of drew the paint close to it.


Here's a list of colors I used
Inklingz:

Shimmerz:

Vibez:

Creameez

Stamps

Thank you so much for looking, and have a great week!

Remember if you write my name in the comments section when you order, you can get a surprise freebie!


Monday, June 11, 2018

Romance


 Hi everyone, here's my first page of the month for Shimmerz Paints! I have used a photo of my son and fiance that was professionally done.
 The quality of these paints are really good. The pale peachy color is one of my all time favorites, I use it I think on every page I've done since I started on the team in January.  It's a rich, creamy, shimmery, container of loveliness, called Dear John Letter Inklingz. It looks good enough to eat!


To make this page I did the following:
1.Put piece of cardstock under photo, adhere with double sided foam tape
2.Adhere foam core board to cardstock.
3. Adhere to watercolor paper mat.
4. Adhere 2 layers of foam core board between the mat and background paper. I used a 12 x 12 piece of watercolor paper.
4. Make some pencil marks where you want stencil to go.
Apply texture paste in a thick layer with a Prima stencil and credit card.
6. Paint stenciled areas with Dear John Letter Inklingz, when the paste is dry.
7. Apply thick layer of Ranger Clear Rock Candy Crackle to raised texture paste,after the paint is dry.
8.Paint chipboard with a mix of Emerald City Inklingz and Penny 4 Your Thoughts Inklingz,when dry apply crackle.
9. Paint area between raised areas of texture paste with Penny 4 Your Thoughts
9.Start gluing all the embellishments on.


You can see some texture on the page, I used two layers of Tidy Widy Texturez, with a layer of gesso between them. The White Tidy Widy is nice and thick, and shiny!It's similar to texture paste.
 I put a layer of Dear John Letter over the whole page. I also used it over small areas of gesso I put on almost every element on the page.
The metal rosette to left of Aron is by Finnabair, the little Eiffel Tower charm next to that is Vintaj. The metal key is by Tim Holtz, it's below the Prima rose. Next to the key is a small Celtic cross, from my stash.


I rubbed on silver mica powder on the page.


The flowers are from Prima. The rusty metal next to Nick's face is by Finnaabair.


I added some gold leaf, a few fairies cut from Graphic 45 Paper, and the gnome is from my stash. The bling is from Swarovski and Prima. Underneath the photo is metal by Tim Holtz: the peace token, heart, and flower piece. The chipboard is called Beautiful Board by Reneabouquet. I also want to say Juliya Tirskaya's pages are a huge inspiration to me.


The dried flowers are from walks I go on at the dog park with my dog Mack. The bee to the left of the rose is from some old Prima papers. 


Thank you so much for looking, and have a very blessed week!


Saturday, September 2, 2017

Mermaid Card


Hi everyone! Melissa here with a design team project for the Mixed Media Warriors Challenge Blog.


To make this 7 x 6 "card I took watercolor paper and glued on a piece of textured ribbon that looks a little like seaweed. I painted gesso over it, and put on the rest of the embellies. The flowers are from Prima. I gessoed and painted the chipboard with Tibetan Poppy Teal by Lindy's, and Tattered Angels Rich Mocha. I layered on a thick coat of Rock Candy Crackle, and let it dry overnight. I fussy cut the mermaid from paper by Kaisercraft.


To add visual interest I added a little texture paste, sequins, rhinestones, shells, metal,bling, metal glitter, micro beads,white embossing powder,wire, and ribbon.


Thank you so much for looking, and have a great week!


Friday, June 2, 2017

A Vintage Card


Hi everyone! Melissa here with a design team project for June's Mixed Media Warrior moodboard. I was inspired by the soft pastel colors. I really like vintage photos, so I included one.  


No automatic alt text available.


To make this card I used watercolor paper and added layers of items. The bottom is ribbon type mesh material, I painted it white with gesso, because it was yellow. The lace with the black printing on it is from Hobby Lobby. I applied some gauze for extra texture. I have a die cut doily on the bottom, followed by a piece of chipboard from Blue Fern, and the pointy ones at the top and bottom are Dusty Attic. The little pieces right under the lace are Scrapiniec.  The pink ones under the butterfly wings are Tim Holtz that I painted with gesso, Finnabairs Art Alchemy Opal Magic in Aqua Rose, then Ranger clear crackle. The blue green butterfly wings are Tim Holtz die cuts that I made 24 of last year with mica powder and things. The other die cuts are from Spellbinder's, Gold Corbels and Accents.  I put on a thin layer of LSS Rambling Rose on the card, and a little green that is a mix of LSS Bells of Ireland Green, and Mission Bells Brown. 


The white lace with sequins is from Hobby Lobby. The tiny sequins are from some Easter decor I have, little eggs that were covered in them.   The safety pin is from 7 Gypsies, the ribbon through it is silk from my LSS. The flowers are from 49 and Market. The tag and sticker are from 7 Dots.


Thank you so much for looking, and have a great week!


Saturday, April 1, 2017

Ryan at the Beach

Hi everyone, Melissa here with my DT team page for the Mixed Media Warriors April Moodboard Challenge! My sister-in-law sent me this photo of my nephew Ryan years ago,it was taken at Eaton's Neck,Northport, NY.  I thought it would be good for this month's project.  


I made this using a 12 x 12 sheet of watercolor paper. I added a layer of gauze in the shape of a giant C with gesso, then stenciled on texture paste with a few different stencils. I spread some on some paste as it were cake frosting in a couple spots. I painted the page with thin layers of LSG,and added the photo, followed by the embellishments.  The photo is on watercolor paper, the bottom two layers underneath are cardstock. I put  two layers of foam core board between the layers to give the page some dimension. I brushed on gesso to try and unify all the pieces, then added more LSG.  I decided everything was too shiny, using my face powder and the brush I apply it with, I put on a layer of it. 


The sea horse is by Tim Holtz, I painted it blue, put a thick layer of crackle on, and let it sit overnight.  I brushed on gold acrylic by Firefly, I got it at Tuesday Morning. The little stickers are from 7 Dots.


I love to collect scrapbooking supplies, can you tell?  


The button with the bee on it is Prima, the black letters are Tim Holtz, the chipboard is from Blue Fern I think. The butterfly is fussy cut from Graphic 45.


The braided metal bracelet is from my sister, she gave me an a stash of jewelry she didn't use anymore a few years ago.  

Thank you so much for looking, and have a great day!

                                         
Image may contain: one or more people and outdoor


Tuesday, February 28, 2017

More Than Words February 2017 Mini Challenge

Hi everyone, Melissa here with a card for the Mini Challenge at More Than Words! You could make a card, ATC (artist trading card), or tag. Since February is the month of love, you had to put the word "LOVE" on it.  I am very mushy on the inside, so using this theme wasn't much of a stretch!


I made this card by layering watercolor paper, and then I handstitched a border with embroidery thread.  I applied home made texture paste with a Prima  Stencil, Royal Menagerie Collection, Decor 1,and a credit card.  I painted the whole thing with Winsor and Newton Watercolors, in sap green and burnt umber.  I sponged Prima Heavy Gesso on to create negative space around the embellishments.


To create more visual interest I added tulle, microbeads, seed beads,bling, metal, and moss. The cherubs are from Authentique Paper.


The "Love" is part of a wood chipboard piece. I used Bark Derwent Inktense watercolor pencil on the edges of it by holding the pencil sideways and drawing it along the edges. Some of the pink paint on the edges of the card is Lindy Stamp Gang's Rambling Rose. 


You can see a little gold mica powder I brushed on the card.The flower is by Prima, the leaves are sizzix die cuts that I watercolored.  

Thank you so much for looking, and have a great week!


Tuesday, February 7, 2017

I Love and Adore You

Hi everyone, Melissa here with a mixed media card on watercolor paper.  


\
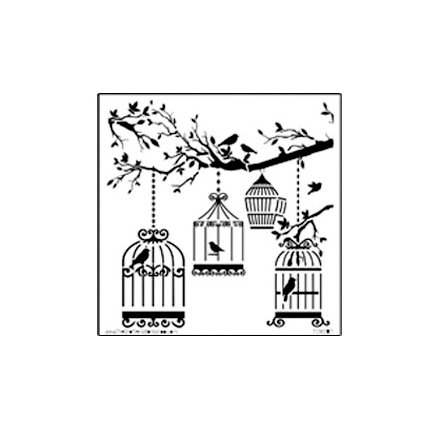
To make this card I put Prima Heavy White Gesso on top of gauze, the added layers of Rambling Rose Lindy's Stamp Gang and Winsor and Newton watercolors.  I stenciled on homemade modeling paste through a 6" x 6" stencil called "Birds of a Feather." 


The Crafter's Workshop - 6 x 6 Doodling Templates - Mini Birds of a Feather


To add visual interest I added microbeads, vintage glass glitter, seed beads, shells, Ranger Rock Candy Clear Crackle, and small pieces of lace. The flowers are Prima, the cherub is Authentique. The words are Tim Holtz.  The heart is Tim Holtz chipboard with gesso and Lindy's rose, a thick layer of crackle paint on top, and more of the rose over that.  


The little key on the bottom right is by Vintaj.


I dabbed gesso on top with a sponge.

I also dry brushed some Art Alchemy Opal Magic paint on top in Aqua Rose , and Violet Green. You can see some areas where I've used Derwent Inktense pencil, I used bark and forest green.

Prima - Finnabair - Art Alchemy - Acrylic Paint - Opal Magic - Aqua Rose


I brushed and rubbed on gold and pearl mica powder.


You can tell I like a lot of detail and texture, right?


Thank you so much for looking, and have a great day!


Sunday, January 29, 2017

More Than Words Mini Challenge, January 2017

Hi everyone! Melissa here with a card that I enjoyed making, I went through almost all my stash looking for Valentine's Day related items, and that was fun!


 I put texture paste on Moulin du Roy watercolor paper(I got it on clearance at Hobby Lobby) with a stencil by TCW called "Cherry Blossoms". I painted the card first pink with Lindys Rambling Rose, then green,then brown, with Winton and Newton waterclors. I dried with a heat gun between layers. I sponged on  Prima Heavy White Gesso. 


I pretty much put the embellies on last. I painted around the flowers to shade them, to have some more contrast. I used Derwent Inktense watercolor pencils in bark, and leaf green. I also use Tim Holtz distress ink in green,Peeled Paint,which colored the paper the best.  I've also used Winton and Newton watercolors around the flowers, and for the brown layer on the card.


You can see I hand stitched around the edges, I used embroidery floss.


The crinkle ribbon is from Tim Holtz, I colored it with Lindy's Rambling Rose. I really like that color because it's a warm peachy pink. 


I put tiny pieces of cosmetic sponge at the base of some of the layers of these Prima Sweet Peppermint flowers, to make the petals stand up. I glued them in with glossy accents.


The xo and love die cuts came in a set that was $1,it was $8,another lucky buy.  Bear in mind I've bought lots of dies at good prices, that I haven't used, so, it's not like I come out ahead! The tiny rhinestones are part of a chain of them that my son's girlfriend gave me. They came unglued from a headband she has, she thought I might be able to use them.  The hummingbird is from an old calendar from my sister in law, I've used them in several projects.


I fussy cut the cherub from a greeting card.


I've had the pendant blank thing that's underneath the flower for a long time, so I was glad to finally use it.  I had glued a little piece of scrapbook paper on it.


I got a new camera for Christmas, so I'm pretty excited what a good job it does, that's why I have so many photos in different kinds of light. And, I like the card, and I had given up on it before I put the white gesso on.  I was going to start over.

The last two photos I put the card on the ground in full sunlight, and created a shadow with my legs.  The light was the strongest with these two.


You're probably exhausted after reading all this.  Take care, and have a great week!