Powered By Blogger
Showing posts with label Blue Fern. Show all posts

Tuesday, March 5, 2019

Look For The Magic


Hi everyone! Melissa here with a design team page for Reneabouquets!  I love all the amazing things there! This photo is from free google, by A.M. Lorek. 


To make this page I applied clear gesso to Happy Accident 2 paper, by Blue Fern. I put texture paste on with a stencil, then put the layers under the photo together. I taped on cardstock underneath the image to make it stronger, below that is a lahyer of watercolors paper. At the bottom is corrugated cardboard. I had torn off most of the paper from the cardboard, and painted it with gesso. I put layers of foam core board between the layers to add dimension.


I picked out Beautiful Board (B Board), painted it with Shimmerz Paints, and topped it with Clear Rock Candy Crackle. 


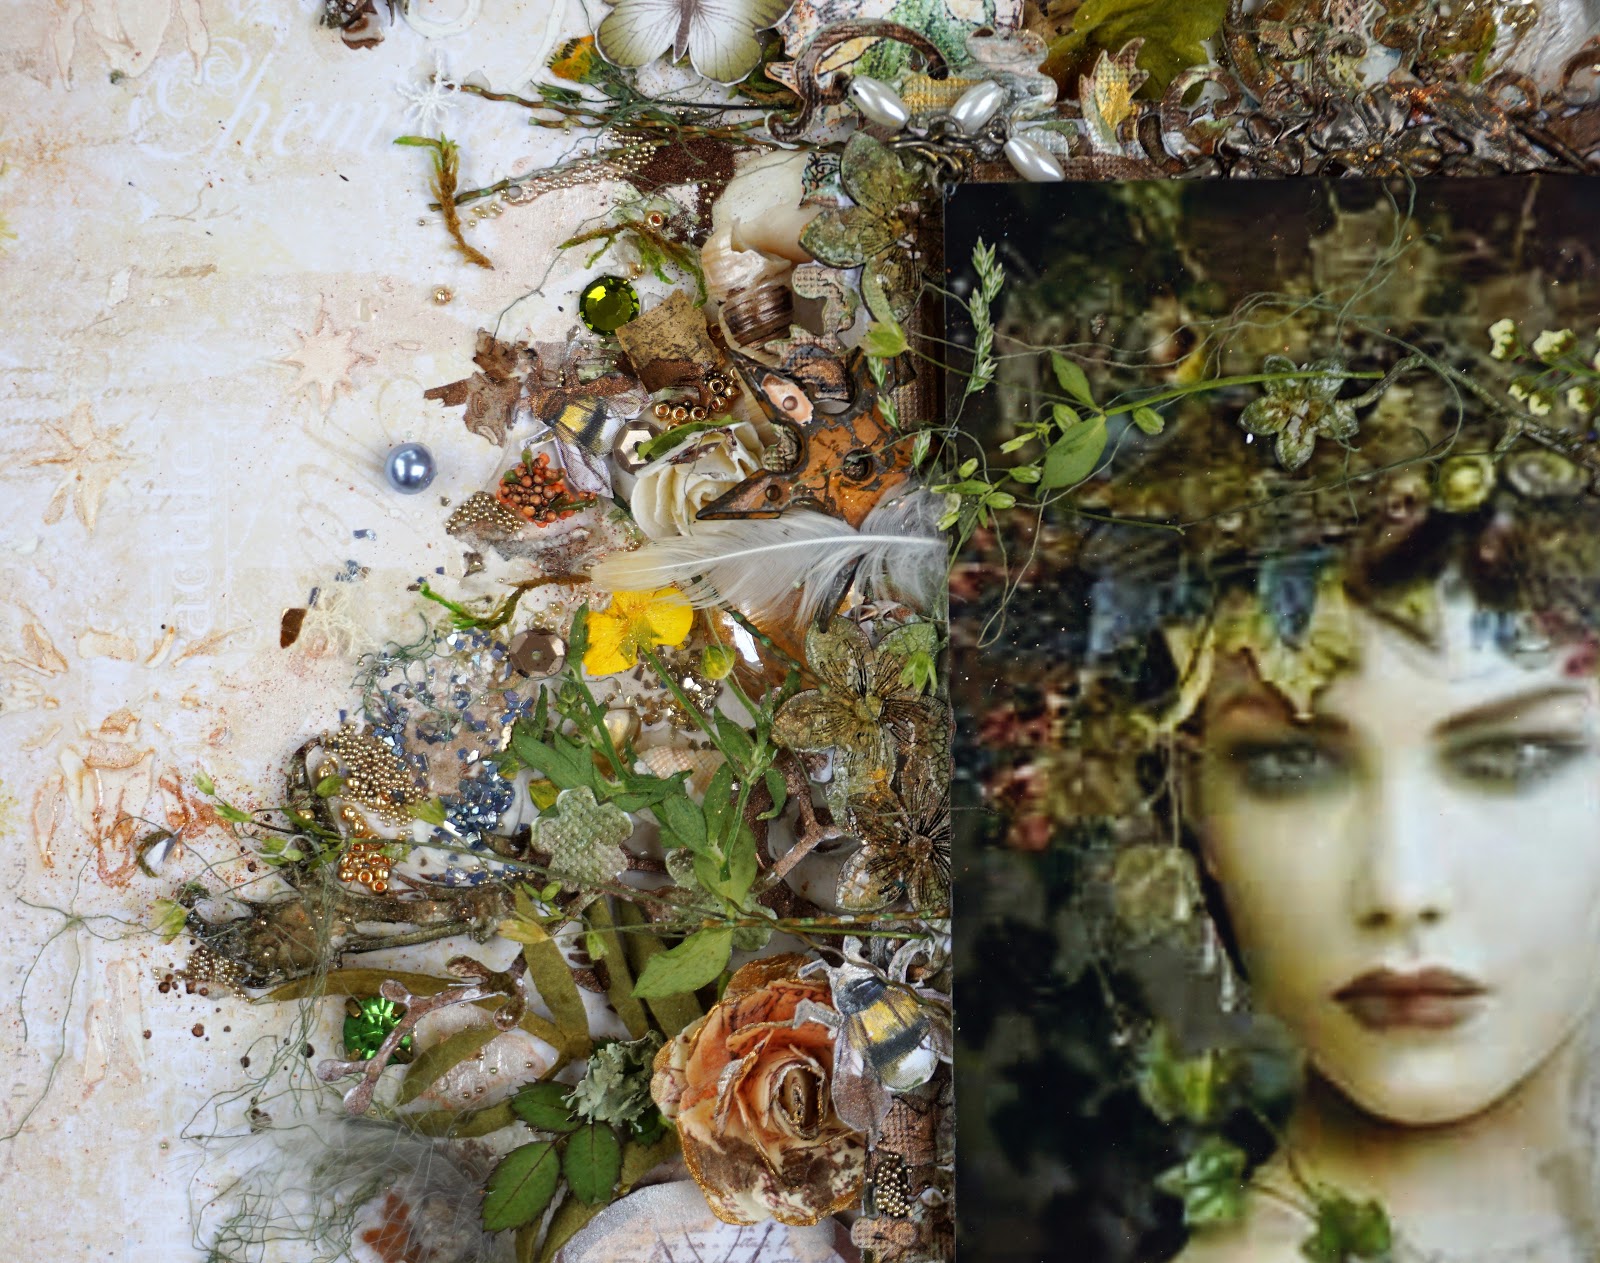
To add visual interest I added micro beads, glass glitter,mica flakes,small pieces of iridescent wrap, sequins, seed beads, pearls, Swarovski crystals, glass beads,a brad,pressed flowers, moss,lichen, a 49 and Market flower, a Reneabouquets butterfly, metal from Renea,Vintaj, Prima, Tim Holtz,bling from my stash, shells, and glass pebbles. There are a few fussy cuts pieces from Prima Spring Farmhouse, and a piece of  Stamperia Alchemy paper. I used some pieces from floral picks.


I love using pressed flowers, they add delicate texture, color, and soften the even shapes of the other elements.


I dabbed on some glossy accents and then mica powder under the glass pebbles. I painted the raised areas of the texture paste with Shimmerz. 


I added Shimmerz and beads on the cardboard, and painted the edges of the layers with paint, black gesso, and swiped on gold mica powder. 
The Tim Holtz tag has Stamperia paper on it, topped with Dimensional Accents.


I dyed gauze with gold, and other pieces with a mix of green and brown. I glued on small pieces of it on the page.


I patted on gold mica powder all around on the different items, to sort of tie things together. 
Thank you so much for looking, and have a great week!


You can find Reneabouquets here...

Reneabouquets items I used:


Tuesday, September 4, 2018

Woman With Crown


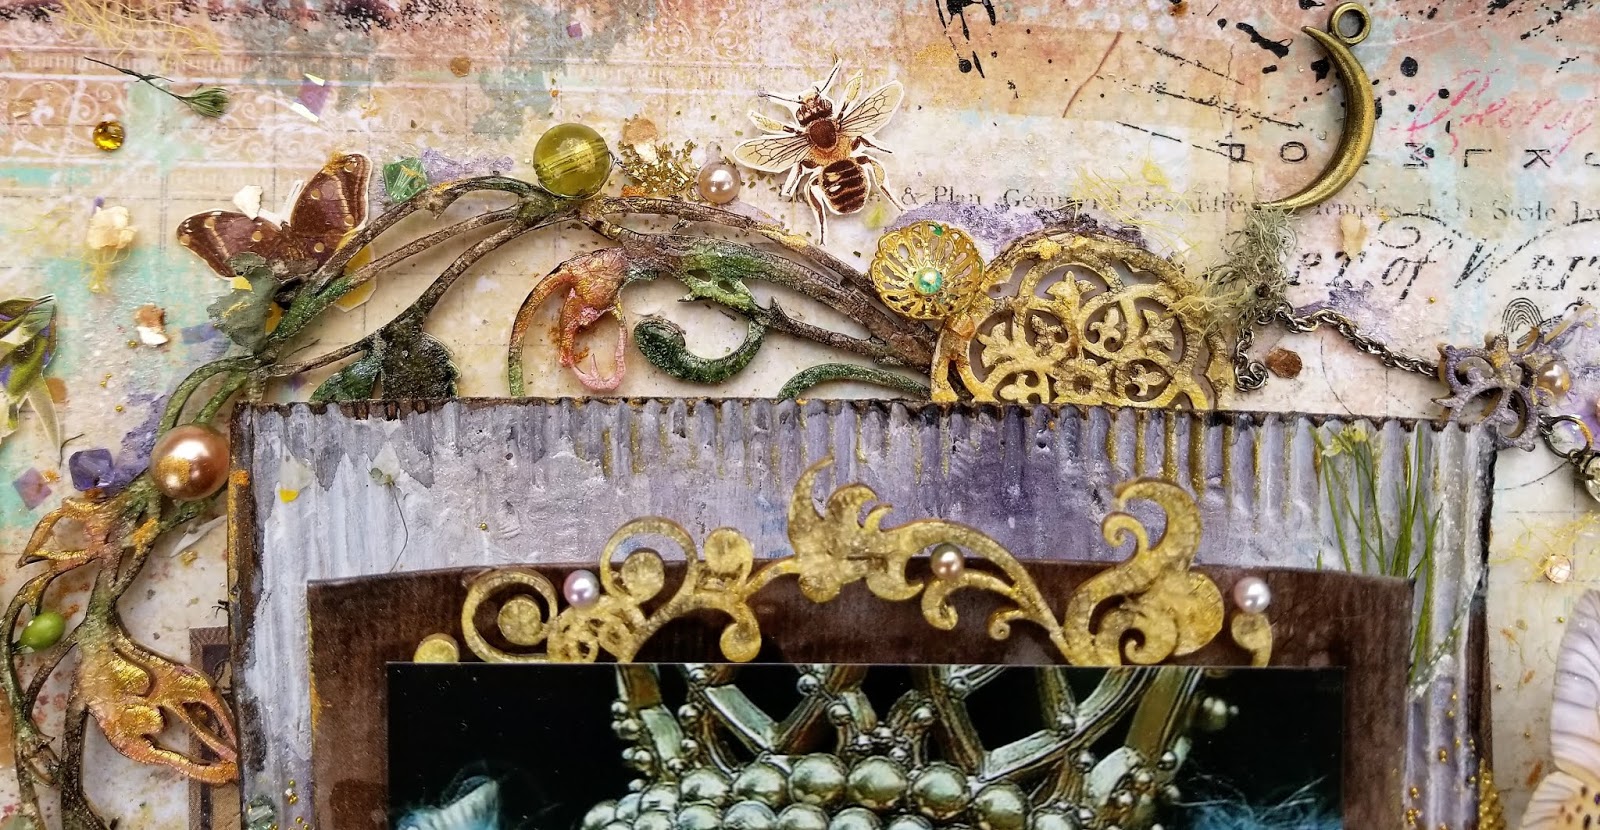
Hi everyone! Melissa here, with a design team page for Reneabouquet!I was inspired by the photo to use things that reflected the ornate crown the woman is wearing.The Beautiful Board (BB) is Art Nouveau inspired, I love all the detail of it. The Blue Fern paper has a pattern that is similar to the BB.


To make this page I applied texture paste using a 13 Arts stencil.  I put layers of foam core board, cardstock, and watercolor paper between the photo and the bg paper.


I painted cheesecloth with Shimmerz and Art Alchemy Paints. I I painted the B B with gesso, Art Alchemy Sparks,Dragon Eye, followed by a layer of Rock Candy Crackle.


I cut the frame to fit around the photo.  
To add visual interest, I added a lot of items: Prima flowers, metal, old jewelry, pressed leaves, feathers, lichen , moss, leaves, glass beads,micro beads, seed beads, pearls, glass glitter, lace,tulle, a little stamping, and rhinestones. I fussy cut a few things from Graphic 45's Fairy Frost collection.


I used a few other Prima Sparks colors on the BB frame, Unicorn's Hair,Mermaid Sparkle,Butterfly Spells, and Shimmerz Paint in Teal the End of Time.


I think the glass fairy orb is amazing! 
I wanted to limit the amount of colors I used on the page, because the frame is ornate, and the photo has a lot of detail.


I put a little gesso on each flower, and painted over it with a mix of diamond shards and Unicorn Hair Prima Sparks paint.


The BB snowflakes were sheer pleasure just to look at. I painted them with gesso, Shimmerz, and DecoArt Metallic Luster Wax, in Silver Spark. I applied a layer of Rock Candy Crackle, and dabbed a little blue watercolor on to help define the cracks.
I took a black watercolor crayon, held it sideways, and kind of shaded the raised edges of the frame and other items, to add depth and definition.

Here is a list of Reneabouquets items I used:


Thank you so much for looking, and have a great week!


Monday, July 23, 2018

Choose To Shine


Hi everyone!Melissa here with a page for Reneabouquet!I made this page to fit around the queen bee at the right. The photo inspired me too, the crown is kind of medieval looking.


To make this page I used Blue Fern paper for the background. I used a credit card to apply texture paste with a stencil. I put two layers of foam cord board between the photo and the background.I arranged the chipboard and flowers around, then picked some colors to use.  I painted the frame with Finnabair Ancient Coin Acrylic Paint, then applied a thick layer of Rock Candy Crackle.


I glued on the metal bee with clockface, put a little gesso on, and topped it with layers of paint and Finnabair White Gold Wax.


The areas that are white on the page are gesso with layers of watercolors.


To add visual interest I added mica flakes, metal glitter, diamond glitter,seed beads, micro beads, more chipboard,glass beads, moss, dried flowers, crystals, charms, tulle, gauze, Beautiful Beads, pearls, and more.
The area on the right is layers of blue and lavender Shimmerz, and diamond glass glitter, some gesso, and more Shimmerz watercolor in a pale peach color.


I painted the leaf chipboard with gesso, Shimmerz  green and brown watercolors, and topped it with Clear Rock Candy.


The Queen Bee is a beauty, with her glass wings,delicate colors, bling, and dimensional quality.


I painted the flowers with gesso,lavender Shimmerz, and Finnabair Acrylics.


I rubbed almost everything on the page with Finnabair White Gold Wax, it tied all the elements together I think.


Here is a list of items I used from Reneabouquet:
Pric


 ❤️Check out the savings...July Coupon-Spend $30.00 or more before shipping at Reneabouquets.com (website only) put 1-Beautiful Board Laser Cut Chipboard Stackable Heart Border in your cart, enter Coupon Code: JULYCOUPON (all caps) at checkout, and and receive 1-Beautiful Board Laser Cut Chipboard Stackable Heart Border free. A $5.99 value. Only one coupon per order. Purchase must be $30.00 or more before shipping. 
The best prices for Renea's items are on - Reneabouquets Shop http://www.Reneabouquets.com
Prices are a bit higher at Reneabouquets Etsy Shop https://www.etsy.com/shop/Reneabouquets -due to new extra costs for Etsy sellers.
Reneabouquets Facebook Page https://www.facebook.com/Reneabouquet...  

Thank you so much for looking, and have a great week!


Price


Monday, May 21, 2018

Never Stop Dreaming


 Hi everyone! Melissa Larson here with my first page of the month for Shimmerz Paints!  I love the quality of these paints, I feel I can really express my love of nature with them.


To briefly describe how I made this page, I put texture paste on with a stencil, then mounted the photo on watercolor paper. I cut up chipboard and die cuts and glued them all around the pic. I put the flowers and some of the embellies on, then started painting. There are a lot of layers of Shimmerz and Inklingz. The gold is mica powder. 


Here are more details:There's chipboard at the top and bottom of the photo. I put a thick layer of Ranger Clear Rock candy over paint, then put more paint and gold mica powder on top.

 I used a lot of micro beads and glitter glass. 

I put a layer of foam core board under the between the photo and the watercolor paper, and then two layers between that and the Blue Fern paper.


The die cuts are made with Spellbinders dies. 


The big blue flowers are from Prima. The fairy at the top is from Graphic 45, I used a few others on the page. The feathers are from the birdbath in my yard, I've collected them over time, the birds leave them there in the water.


The little metal leaf at the bottom middle is from Vintaj. The title sticker is from 7 Dots. The truth metal tag is from Tim Holtz.  


I used a lot of pressed flowers. That yellow one is a buttercup. The little sun image to the left of the big blue flower is from Stamperia. 

Here's a list of the colors I used:
Inklingz:

Shimmerz:

I used some patina glitter glass, and mermaid shard glitter glass from Reneabouquets Shop.

Thanks so much for looking, and have a great week!


Monday, April 30, 2018

More Than Words Challenge April 2018

I was inspired by this photo because the beauty of NATURE at the sea shore gives me a feeling of peace.I am inspired by the shimmer of the sun on the water, the sense of space I experience, and the always beautiful wildlife that I see there. I only live about five miles from the nearest beach at Galveston Bay. An added plus is that one of the roads on the way is lined with waterfront homes and neighborhoods. It makes for a quaint and beachy feel, and is always a pleasure to drive there. For the ANIMAL part of the challenge, I added a seahorse, two starfish, snails, a lobster, and more. 


To make this page I used Seascape, from the Wanderlust collection by Blue Fern. All the paint is from Shimmerz, the gold is mica powder. The chipboard around the frame is from Dusty Attic.


Monday, April 9, 2018

Surround Yourself With Love


  • Hi everyone! Melissa here with a design team page for Shimmerz Paints!  I am happy with this page, and I give a lot of credit to Shimmerz for inspiring me with not only their beautiful products, but with their kindness and support!


First I want to tell you which paints I used:

I used a set of Shimmerz new stamps too,  Petite Poppies. I used one flower several times on the page and also a leaf stamp from another set called Bed of Roses. I stamped the leaf with green Tsukineko chalk ink.

How I made this page, in a nutshell:
Apply texture paste with an old credit card and stencils to Blue Fern paper.The paper is from the  Seaside Cottage Collection. I used a stencil from TCW that has a clock frame on the outside, and a big bee on the inside. The stenciled on stars are from a Tim Holtz stencil. I used gesso and glossy accents to adhere layers of textured ribbon to the top and bottom of the page,and painted gesso oveer it. The ribbon look a little like webbing, I painted over the dried gesso with Dear John Letter. 
  Mount photo on watercolor paper, I also adhere a piece of cardstock under the pic itself to make it more durable, and flat. I give dimension to layers with layers of foam core board. 
I cut up die cuts by spellbinders and glued them on around the pic.
 Put gesso, paint, and Clear Rock Candy on chipboard. For the paint on the chipboard I used the Greener Pastures, then while it was wet, added in Penny 4 Your Thoughts. After I applied a very thick coat of Clear Rock Candy and it had dried, I rubbed on a little copper mica powder.


Once I had the above glued on, I started adding all the flowers, glitter, and other embellishments. My last step was to add Penny 4 Your Thoughts Inklingz around the photo, to extend the dark tones of the photo. Now that I've written the short version I'll note all the different sources of the papers and items.


The circle with the sun at the upper right of the photo is from Stamperia, from my local scrapstore, The Scrap Shack, in Friendswood,Texas.  The little bird and quote beneath is from Pion. Anna there gave me a huge amount of papers because she thought I did great work.
The fairy is Graphic 45, she's in the green dress at the top left of the photo.
The blue rose next to the sun paper is 13 Arts, from papers I got in a give away from Aida Domisiewicz. 
If you look to the left of the heart and home word paper, you can see where I stamped with versamark type ink, and copper mica powder.


I've added a lot of pressed flowers from recent walks at the dog park Mack and I go to. The rose leaves are from my yard. The two paper roses on the page are Prima. There are also two very small white paper roses from my local scrap store(LSS) I used two glass pebbles, I mixed water and gold mica powder and painted the paper underneath the pebble, and glued the glass on. See the orange flower thing placed horizontally at the upper right of the pic? I put that there and accidentally left it there. It's from Hob Lob, I got it at the fall clearance, the tiny orange pebbly flower things are from it too. I painted over them with Penny 4 Your Thoughts. The bright yellow flowers are pressed buttercups from the park. I press all the things by putting them in a piece of paper towel, then stick them in my cookbooks in a pile.


The striped feather at the left bottom of the photo is part of a diy earring from Hobby Lobby, in the feathers section. The oval frame item is also from Hob Lob, it has an image of a hot air balloon, under a piece of acrylic.


The found objects metal tag is Tim Holtz, so are the stenciled on stars. The surround yourself with love sticker is from 7 Dots. When I was little my neighborhood was surrounded by woods and fields,and I spent a lot of time in them.This page made me think of those days, and how much I love the emotions they evoke. 
A few years ago, I found parts of a moth in my garage that had gone to moth heaven. They didn't match up to make a whole,and are so fragile, so I gently glued them on the page. 


To add visual interest I applied the following: mica flakes, micro beads, seed beads,sequins, a few Swarovski crystals,rhinestones, feathers from my yard,metal glitter, pearls, part of a broken pearl necklace,rusty metal pieces from Finnabair,lichen, shells, birch tree bark(a neighbor told me never to peel it off the tree because that could hurt the tree, so these are pieces I found on the ground by it.),lichen,dried moss, and gauze threads.


The bee by the left of the photo is from 49 and Market. I got a few pieces of paper from my LSS,there was one with just cut outs on it of fairies and things.


The cherry blossom chipboard is from Dusty Attic. 


I love the way pressed flowers look on a page.


You can see some foliage to the left of the Prima flower that's from 49 and Market.


The hummingbird is from an old calendar.


You can see copper mica powder to the left of the feather, I've been hoarding it for years, and use it very sparingly.Maybe I can find more online. It's from Jaquard at Hobby Lobby. It's coarser and shinier than regular mica powder. I used it there and around the page in a various areas. 
to the right of the grey feather at the bottom of the page I used a leaf stamp from a Shimmerz set. I used green chalk ink, and used it several more times around the page.